Docker微服务方式启动(新版)
适用v3.8.2+版本 进一步简化了Docker一键启动前后端(微服务模式),方便用户快速部署和使用系统。
说明:为了快速启动,后台只做了必须配置,其他配置比如
云存储、AI账号配置,请手工修改Nacos中dev配置文件。 前提:运行机器环境需要提前安装jdk17+、docker、docker-compose、nodejs、pnpm、Maven等,安装手册见文档。
通过脚本快速启动
1. 下载项目
git clone https://github.com/jeecgboot/JeecgBoot.git
2. 执行项目下的脚本
-
window脚本
start-docker-compose-cloud.bat -
linux脚本
start-docker-compose-cloud.sh
通过手工操作启动
1. 下载项目
git clone https://github.com/jeecgboot/JeecgBoot.git
2. 配置host
#必要项
127.0.0.1 jeecg-boot-gateway


#可选项
127.0.0.1 jeecg-boot-mysql
127.0.0.1 jeecg-boot-redis
127.0.0.1 jeecg-boot-nacos
127.0.0.1 jeecg-boot-system
127.0.0.1 jeecg-boot-sentinel
127.0.0.1 jeecg-boot-xxljob
127.0.0.1 jeecg-boot-rabbitmq
3. 编译后台项目
进入后台
cd JeecgBoot/jeecg-boot
编译
mvn clean install -Pdev,SpringCloud
4. 编译前端项目
进入前端
cd JeecgBoot/jeecgboot-vue3
编译
pnpm i
pnpm run build:dockercloud
5. 启动镜像容器组
进入JeecgBoot根路径
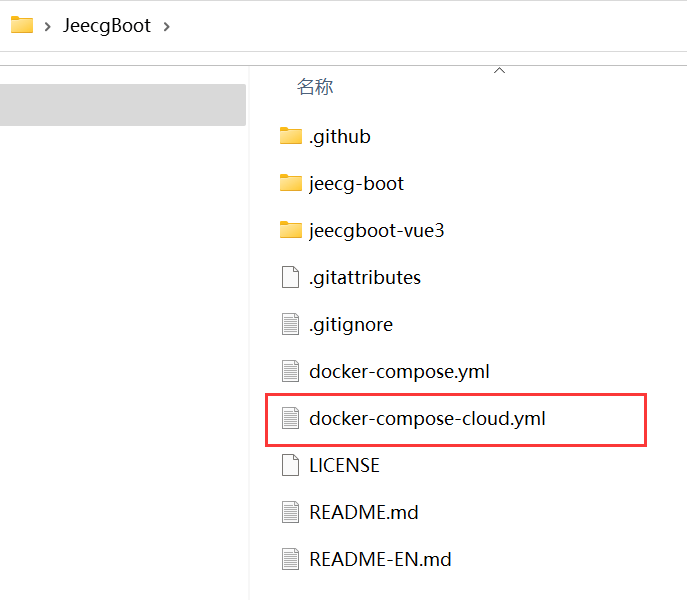
执行docker命令
docker-compose -f docker-compose-cloud.yml up -d
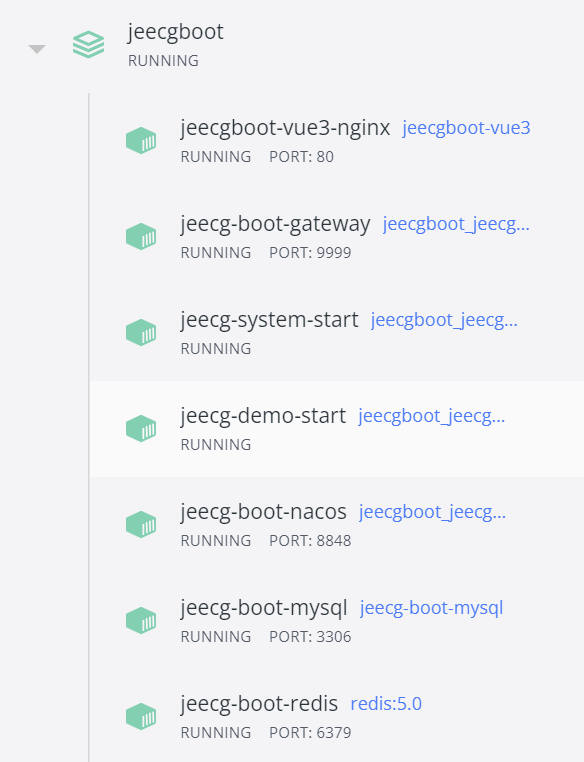
Docker组启动成功
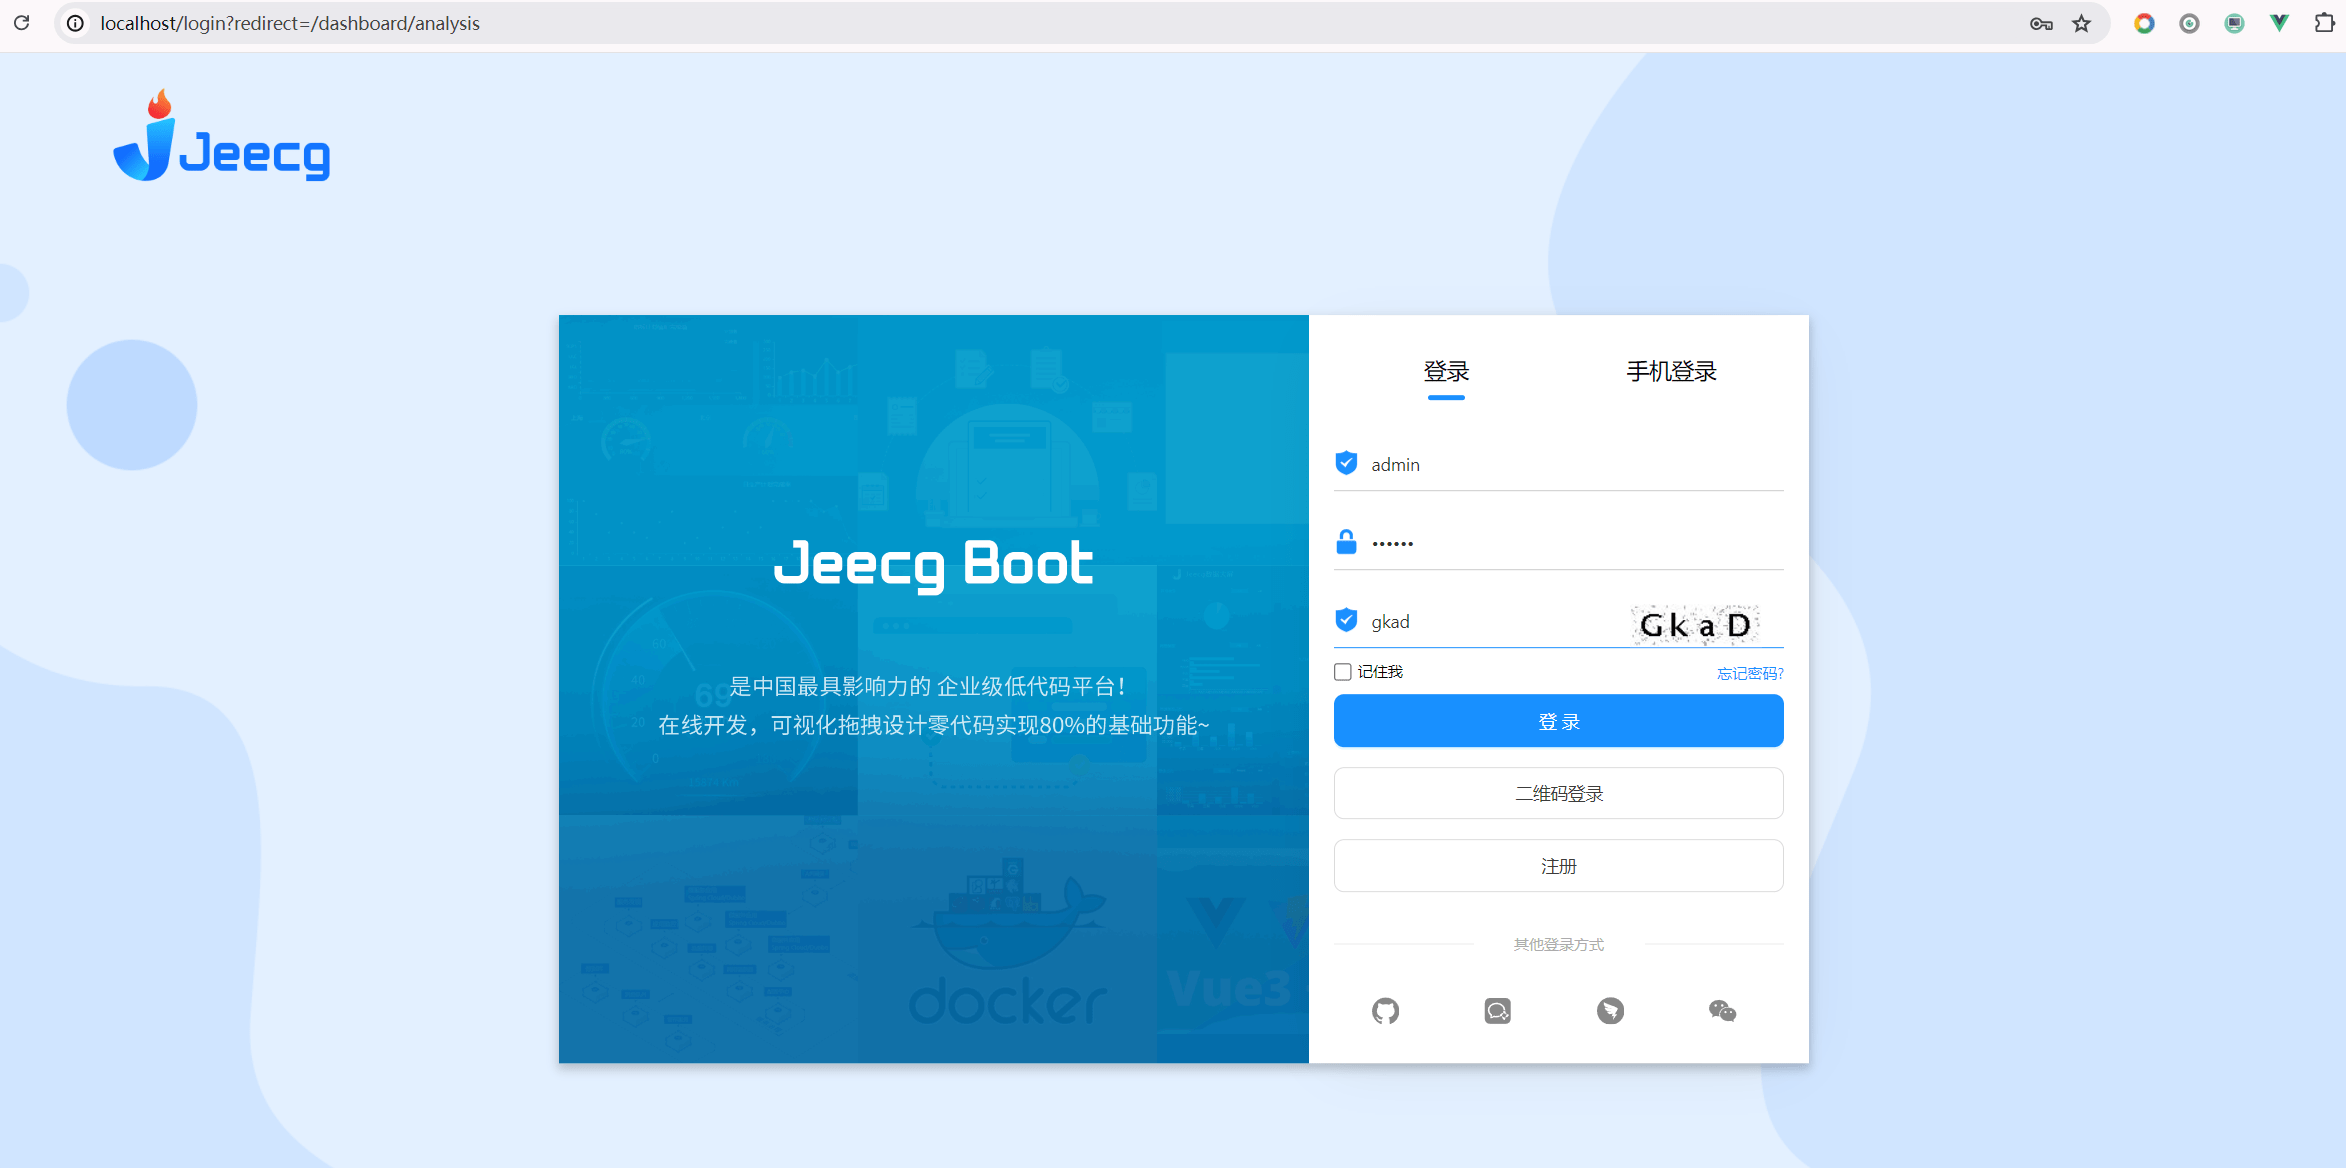
6. 访问系统
等待1分钟,待mysql数据初始化完成后,访问系统
7. 发现问题
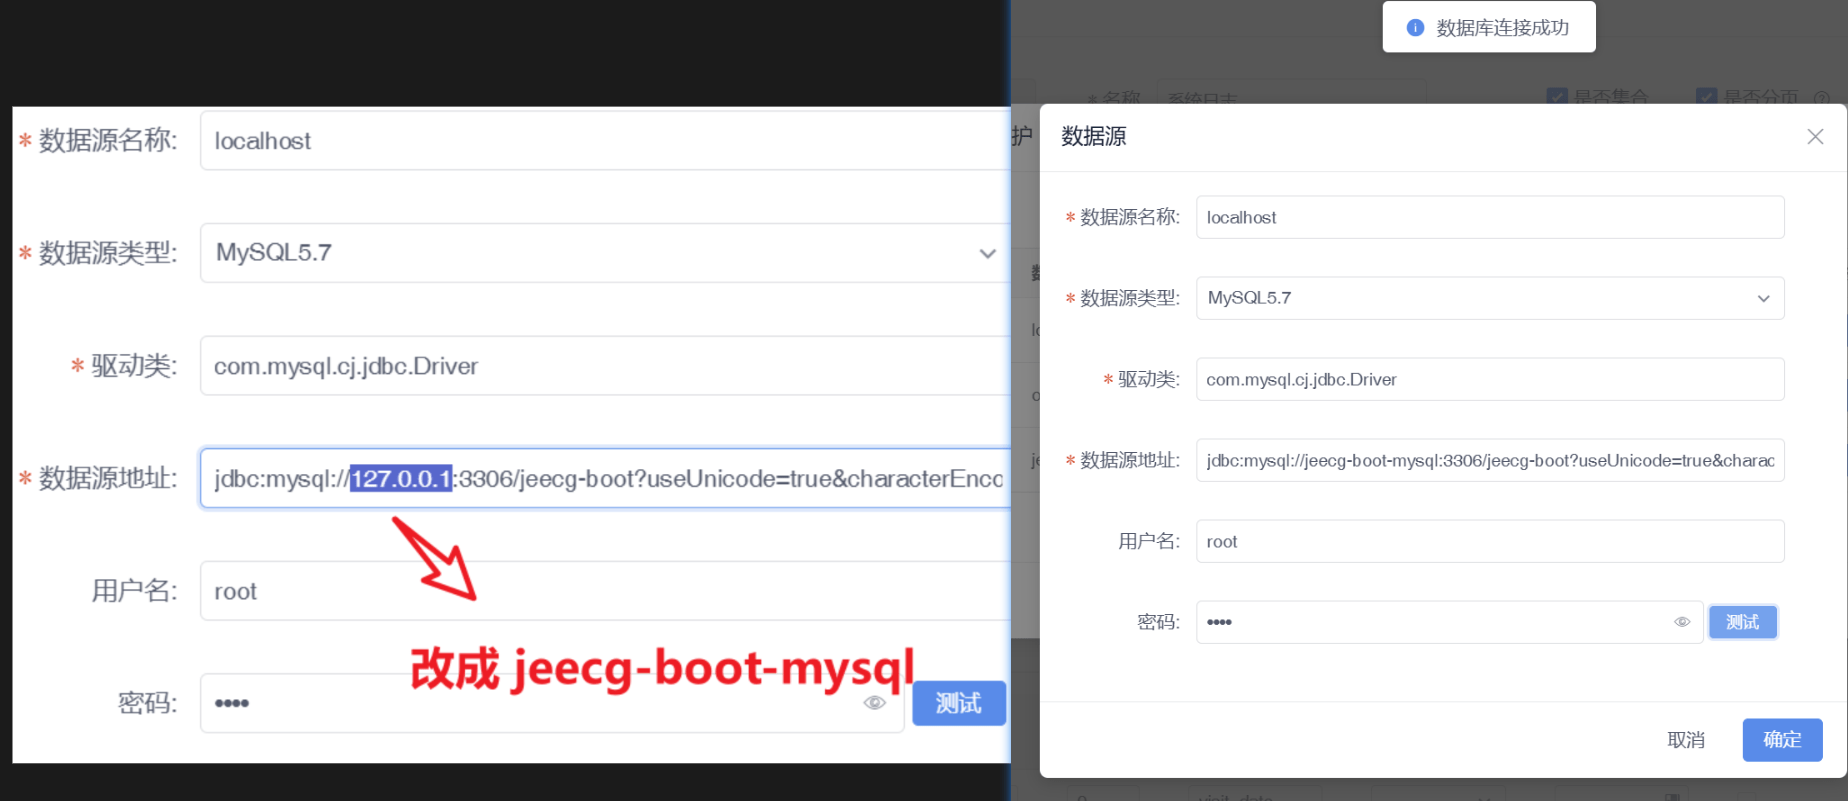
采用docker启动应用发现积木报表的数据源无法连接,报错如下:
 数据库连接失败:Communications link failure The last packet sent successfully to the server
   was 0 milliseconds ago. The driver has not received any packets from the server.
解决方案: 采用docker-compose-cloud.yml启动,需要把数据库连接的127.0.0.1改成jeecg-boot-mysql