Docker启动前端
一、Docker镜像启动前端 (对接单体后台)
1. 下载项目
git clone https://github.com/jeecgboot/JeecgBoot.git
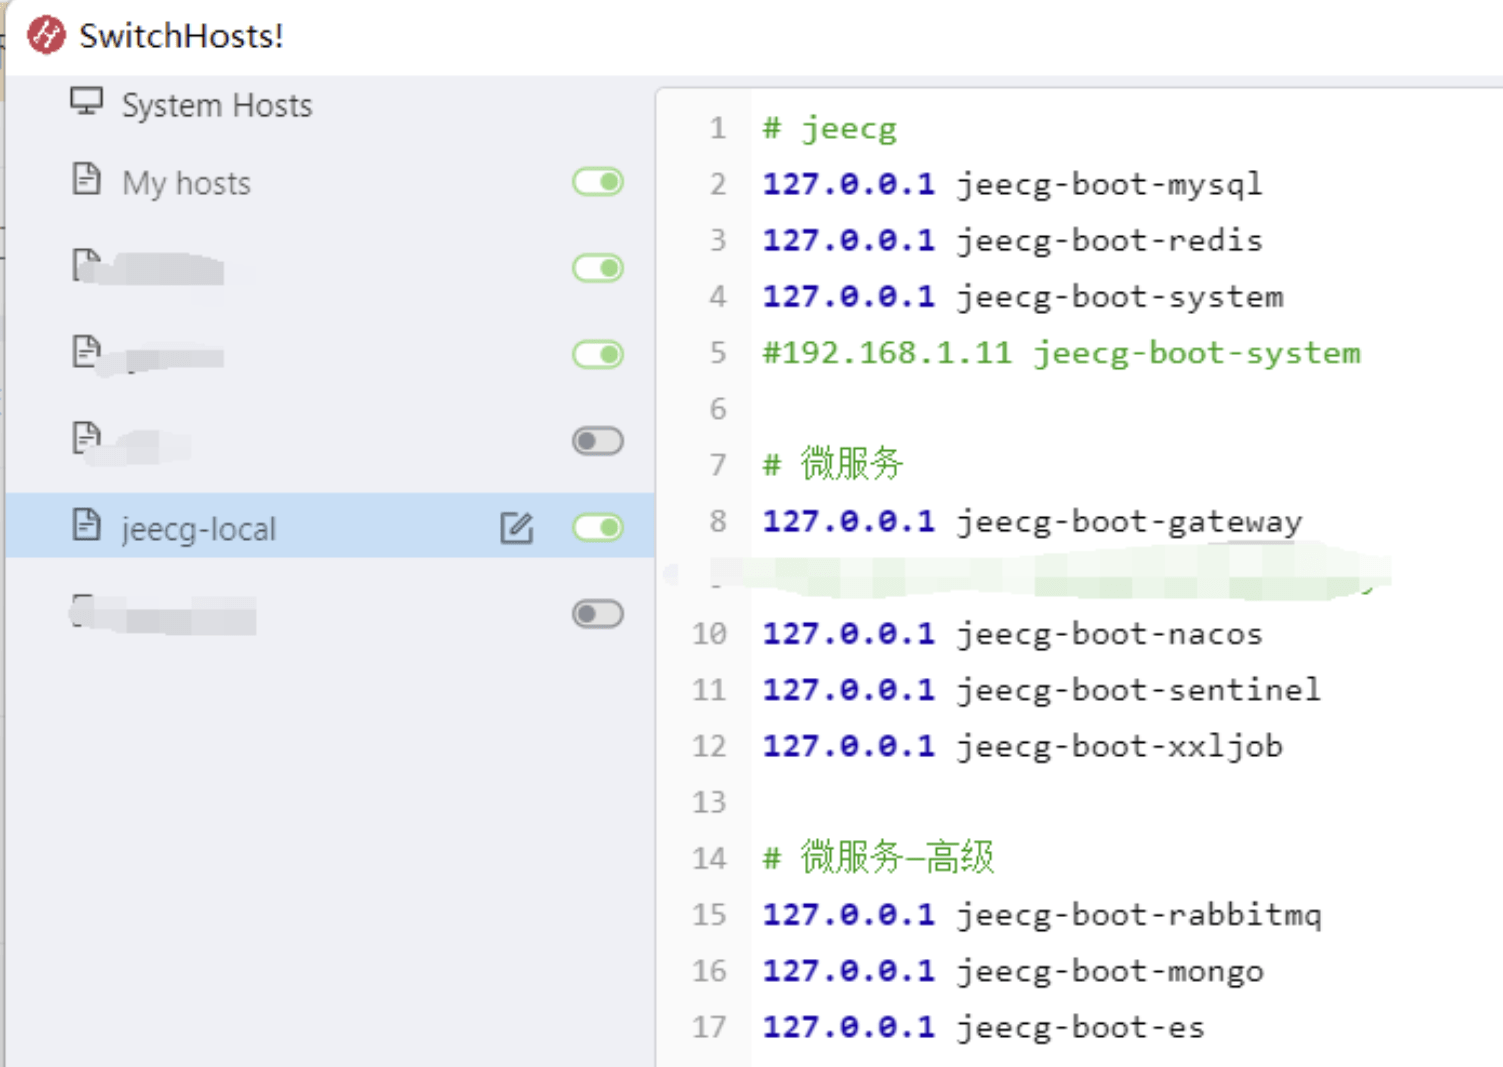
2. 配置host
提醒: 注意需要把
127.0.0.1替换成真实IP, 比如192.开头,不然后端不通。
127.0.0.1 jeecg-boot-system
127.0.0.1 jeecg-boot-gateway
可以使用工具 SwitchHosts 快速配置host.
3. 配置后台域名 (可忽略)
进入前端项目
cd JeecgBoot/jeecgboot-vue3
修改 .env.production
VITE_GLOB_API_URL=/jeecgboot
VITE_GLOB_DOMAIN_URL=http://jeecg-boot-system:8080/jeecg-boot
此处的 jeecg-boot-system 对应host的域名配置。
4. 进入项目根目录,执行编译命令
pnpm i
npm run build
5. 构建镜像
docker build -t jeecgboot-vue3 .
6. 启动镜像
docker run --name jeecgboot-vue3-nginx --network jeecg_boot -p 80:80 -d jeecgboot-vue3
说明:如果启动提示
docker: Error response from daemon: network jeecg_boot not found需要先启动后台docker.
7. 访问前台项目
8. 启动后台项目
9. 修改后台host地址为IP
如果遇到获取不到验证码情况,请把后台的host改成真实ip,不能用127.0.0.1。
参考下图,改完重启前端的docker

重启后刷新就能获取到验证码了。
二、Docker镜像启动前端 (对接微服务后台)
前面步骤与单体一样,这里只写不同的地方
1、修改后台域名为gateway地址
.env.production
VITE_GLOB_API_URL=/jeecgboot
VITE_GLOB_DOMAIN_URL=http://jeecg-boot-gateway:9999
2、修改Dockerfile文件
把 http://jeecg-boot-system:8080/jeecg-boot 替换成 http://jeecg-boot-gateway:9999
把 jeecg-boot-system 替换成 jeecg-boot-gateway
location   /jeecgboot/ {
         # 必须有/
         proxy_pass              http://jeecg-boot-gateway:9999/;
         proxy_redirect          off;
         proxy_set_header        Host jeecg-boot-gateway;
         proxy_set_header        X-Real-IP \$remote_addr;
         proxy_set_header        X-Forwarded-For \$proxy_add_x_forwarded_for;
  }
注意:微服务部署Dockerfile里location和proxy_pass最后都必须带/,否则链接gateway会报错
3. 进入项目根目录,执行编译命令
npm run build
4. 构建镜像
docker build -t jeecgboot-vue3 .
5. 启动镜像
docker run --name jeecgboot-vue3-nginx --network jeecg_boot -p 80:80 -d jeecgboot-vue3
说明:如果启动提示
docker: Error response from daemon: network jeecg_boot not found需要先启动后台docker.